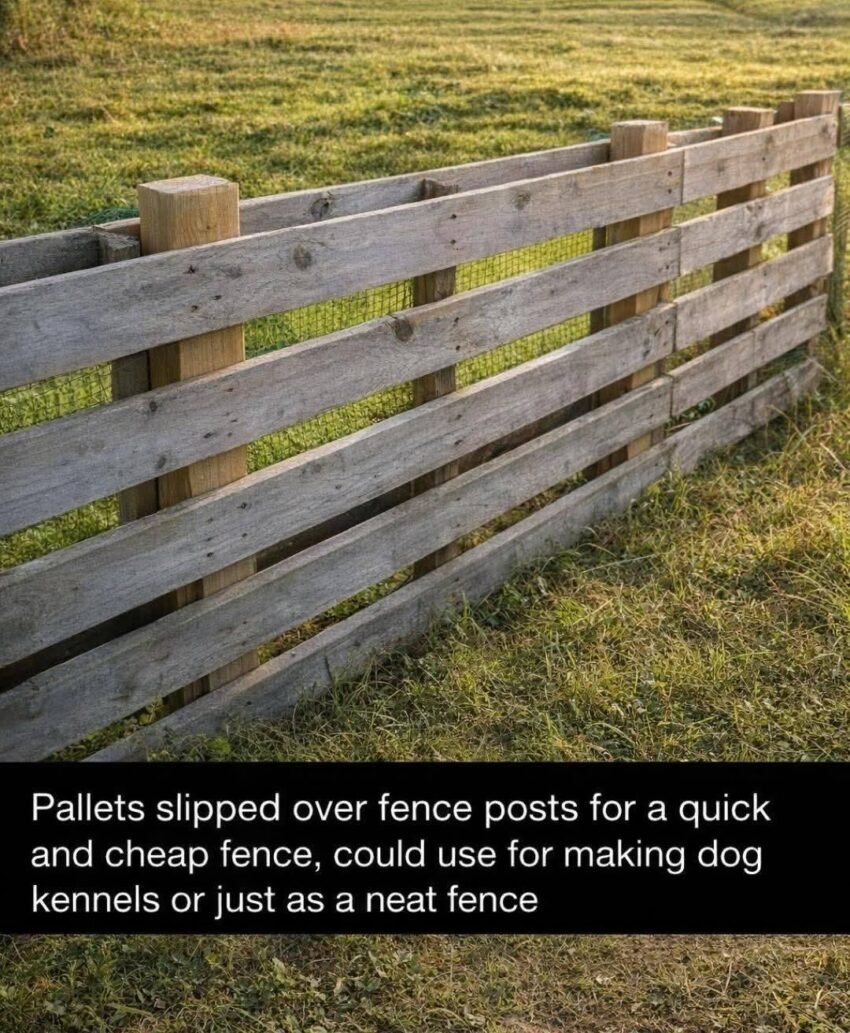
Slipping wooden pallets over wooden fence posts is basically a quick cladding or fence-covering method, where you reuse pallets to build a rustic-looking fence by sliding or attaching them onto existing posts.
Here’s how it’s typically done and what you should know:
🪵 Basic idea
You take wooden pallets (like shipping pallets) and either:
- slide them over vertical fence posts, or
- fix them between posts to form panels
It creates a rustic, budget-friendly fence upgrade without building from scratch.
🔧 Common method (sliding / “sleeve” style)
1. Prepare posts
- Use sturdy vertical posts (wood or metal)
- Make sure they’re evenly spaced and firmly fixed in the ground
2. Prepare pallets
- Remove bottom slats if needed
- Cut pallets in sections if full size doesn’t fit
- Sand rough edges to prevent splinters
3. Slip or mount
- If posts are narrow, you can slide pallet frames over them
- More commonly:
- Screw pallet sections directly to posts
- Or attach horizontal rails first, then fix pallets onto them
🪛 Reinforcement (important)
Pallet wood alone is not very strong, so:
- Use galvanized screws or bolts
- Add cross-bracing if the fence is tall
- Anchor posts deep enough to avoid wobbling
🌧️ Weather protection
Since pallets are untreated or lightly treated:
- Apply wood sealant or outdoor paint
- Raise wood slightly off ground to prevent rot
- Expect shorter lifespan than proper fencing unless maintained
⚠️ Things to watch out for
- Not all pallets are safe (avoid chemically treated or unknown source pallets)
- Splinters and loose nails are common
- Can warp over time in sun/rain
- May not meet local building codes for permanent fencing
🎨 Why people do it
- Very cheap fencing option
- Rustic / farmhouse aesthetic
- Easy DIY project using recycled materials
